When I first opted to learn online photography the often 3 words I read everywhere in basic elements were
- ISO,
- Aperture
- Shutter speed and I am adding one more to it
- Angles
Wait wait dont run away....... hearing these very technical terms, I swear I'l explain in my simplest terms. Even I was very much aversed hearing such terms for the 1st time but then learnt these are the most useful when professional photography is considered. Now first lets start with ISO...
ISO denotes how sensitive the image sensor is exposed to the amount of light present.
It is usually in numbers from lower say 100 - higher may be 2600(it depends on ur camera). This can be manually changed in settings.
Shooting at a lower ISO number requires more light - Refer 1st pic. So if you are at a place where light is less you can increase to higher ISO settings but remember higher the ISO the picture looks like washed off with sand or to be simple a grainy picture - Refer 2nd pic it automatically has given more light. I do cooking mostly during ngt times and there is no way other than to use flash till I learnt about ISO and now I can take pictures without flash by setting higher no ISO say 400 or 800.
ISO : 200 ISO: 1600
RULE :
Lower ISO number is used when there is more light
Higher ISO number is used when there is low light
Aperture
The aperture on a camera, which is measured in f-stops, controls the amount of light. Lower f-stop numbers (for e.g. in mine its 2.8) widens the aperture and allow more light to get in. The larger the hole the more light that gets in - the smaller the hole the less light. But only in some cameras you have control over to manually change the fstop settings , otherwise its automatic.
Note : This blur in 2nd pic was actually faked using photoshop ;) but to show how the blurring looks....I have used this pic...becos I have a a long way to go to learn blurring backgrounds using my digi cam....:) When we take living objects we usually get annoyed when our pictures blur....I was also with you till I discovered the beauty of blurring....I can say I am craving to take background blur pictures....Blur isn’t always a bad thing, especially when it captures the movement or the subject with a background.
Shutter speed
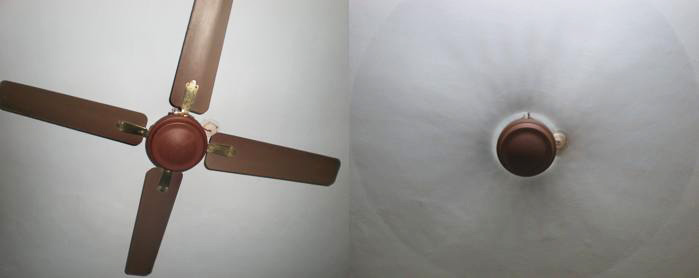
Shutter Speed is the amount of time that the shutters of the window are open. A fast shutter speed will freeze the subject and a slow shutter speed will make it look blurred as the subject moves. When we use flash option there is a fast shutter speed and thats the reason why we have less option for the images to shake. I usually use this in interiors where there is no enough light.
Freezing is if you check the 1st pic will u believe the fan was rotating while I clicked the pic....but yes tats the truth....It just freezes the moving objects when shutterspeed is fast.

RULE :
Fast Shutter speed - Freeze as in 1st pic
Slow shutter speed - Blur as in 2nd pic
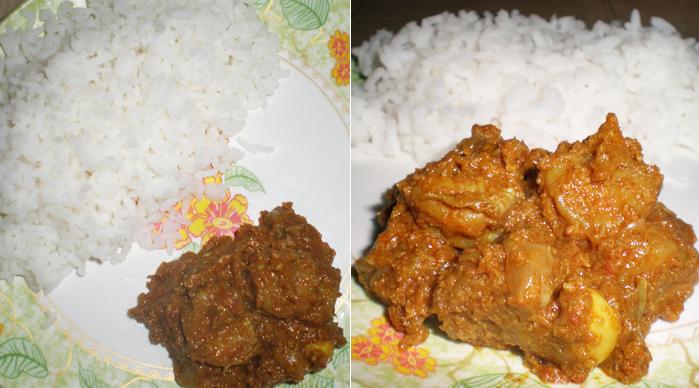
Angles:
Till I started this space I was not aware that angles make so much of difference. In the 1st pic I took from top, so the lighting was not gud enough and pic seems to be dull too. The 2nd was taken from one side, see how much difference the lighting with angles has made and the pic looks more appealing. As I say always taking 4-5 pictures in different angles definitely makes a difference in your perspective to photography.

Having known the basics.....Lets get on to the next in my upcoming article but I'l make sure thats not boring as this :) So keep coming and do drop in ur comments !

